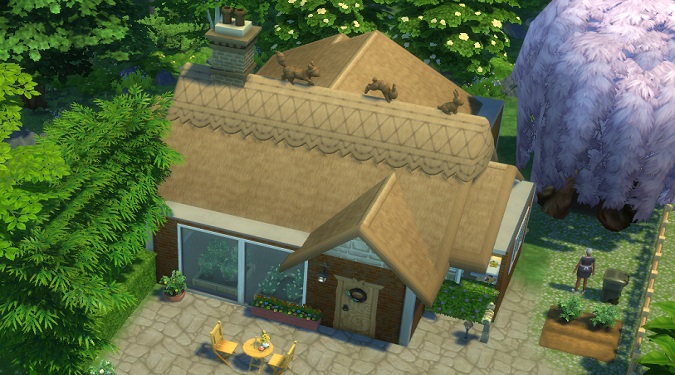
Here’s a quick step-by-step guide on how to add wooden support beams in The Sims 4 using spandrels.
1. Build Walls: Start by building the structure where you want to add wooden support beams. Build your walls and design the room.
2. Use Spandrels: Once you’ve built your walls, it’s time to add the wooden support beams. In the Build Mode, navigate to the Spandrels category. These decorative elements will help you achieve the beam-like appearance.
3. Place Spandrels between Walls: Select the spandrel that resembles wooden beams. Then, position these spandrels between the walls where you want the beams to appear. This will give the illusion of wooden support beams on your walls.
How to Create Middle Beams
If you want support beams in the middle of a room or space, you can achieve this by following these steps:
1. Delete the Ceiling
Enter Build Mode and select the room or area where you want the middle beams. Delete the ceiling in this space.
2. Add a Roof
After removing the ceiling, add a roof to the room. This will create an open area with exposed walls.
3. Adjust Beam Height
To make the wooden support beams appear in the middle, use the height adjustment tool to drag the spandrels’ height up until they match the height of the roof. This step will create the effect of support beams running through the center of your space.
How to Add Beams to Your Ceiling in The Sims 4
Step 1: Enter Build Mode
First, go into Build Mode in the game. You can do this by clicking on the Build/Buy icon, which looks like a house icon.
Step 2: Place a Wall and Select Spandrels
In Build Mode, place a wall. Then, look for the Spandrels category. These are decorative elements that can be used to mimic support beams.
Within the Spandrels category, select a beam that mimics wood. Browse through the available options to find the one that suits your design.
Step 3: Hover Over the Wall
Hover your cursor over the wall where you want to add the support beam.
Click on the wall where you want to place the support beam. The entire wall will change to incorporate the beam design you’ve selected.
Step 4: Redraw the Wall
If you need to adjust the wall or change its shape, you can use the wall tool to redraw it. This allows you to maintain the support beam’s appearance while modifying the wall layout to your liking.
If you’ve already placed a beam and want to change its style, just choose a new spandrel, hover over the existing one, and it will automatically replace it.
That’s it! You’ve successfully added wooden support beams to your walls in The Sims 4. It’s a great way to add some rustic or architectural charm to your virtual home. Enjoy decorating!
